Contents
Get started
Learn how to start creating 2D and 3D apps in Ruby
Install native raylib
Raylib Ruby makes use of low-level graphics and hardware, so you’ll need a Ruby environment that can build native extensions. If you’re new to Ruby and need some help, check out these guides: macOS, Windows, and Linux.
On Linux, you’ll need to install a few packages before installing the gem, see the instructions here.
Install the gem
Now you’re ready to install the Raylib Ruby gem! On your command line, run:
gem install raylib --pre
Write your first 2D app
After installing the gem, create a new Ruby script called window.rb and add the following lines.
require 'raylib'

Raylib.init_window(640, 480, 'Hello, Raylib!')

until Raylib.window_should_close
  Raylib.begin_drawing
  Raylib.end_drawing
end

Raylib.close_window
This is the simplest Raylib Ruby application you can write. This code initializes a window and keeps it open until you decide to close it. The require statement adds the Raylib Ruby domain-specific language and classes. init_window opens a window of 640 by 480 pixels with the title 'Hello, Raylib!'. The until loop keeps the window open until it should close (e.g., when you press the close button on the window or the esc key).
Let’s make this window more interesting by giving it a name and adding a shape. We’ll use the init_window method to change the title of the window and add the method draw_triangle to draw a colorful triangle.
require 'raylib'

Raylib.init_window(640, 480, 'Hello, Triangle!')

until Raylib.window_should_close
  Raylib.begin_drawing

  Raylib.draw_triangle(
    Raylib::Vector2.new(320,  50), # Top point
    Raylib::Vector2.new(540, 430), # Bottom right point
    Raylib::Vector2.new(100, 430), # Bottom left point
    Raylib::Color::MAROON          # Color of the triangle
  )

  Raylib.end_drawing
end

Raylib.close_window
Great! Now save your script and run it on the command line using:
ruby window.rb
You should see this impressive triangle…
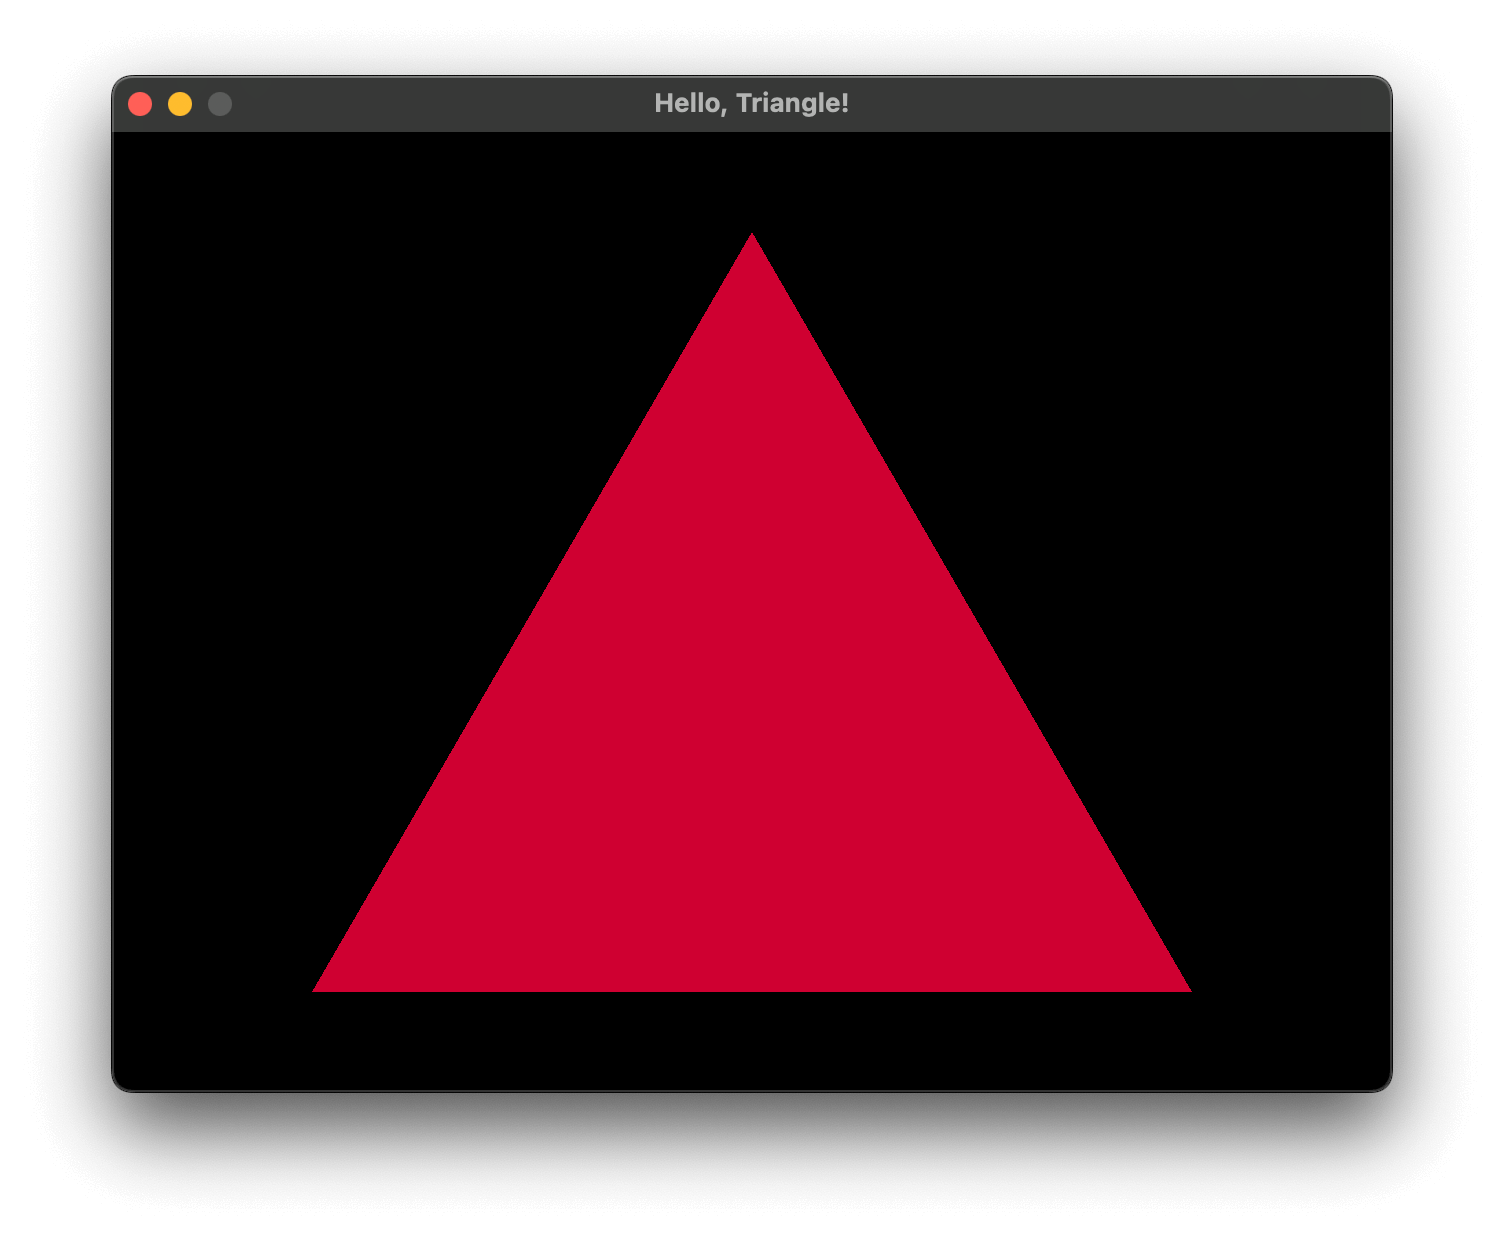
Congrats, you just built your first Raylib Ruby app! 🎉
What’s next?
There’s a lot Raylib Ruby can do. Check out the showcase to see examples of what you can build. To keep learning, continue to the next topic or select one from the contents menu.